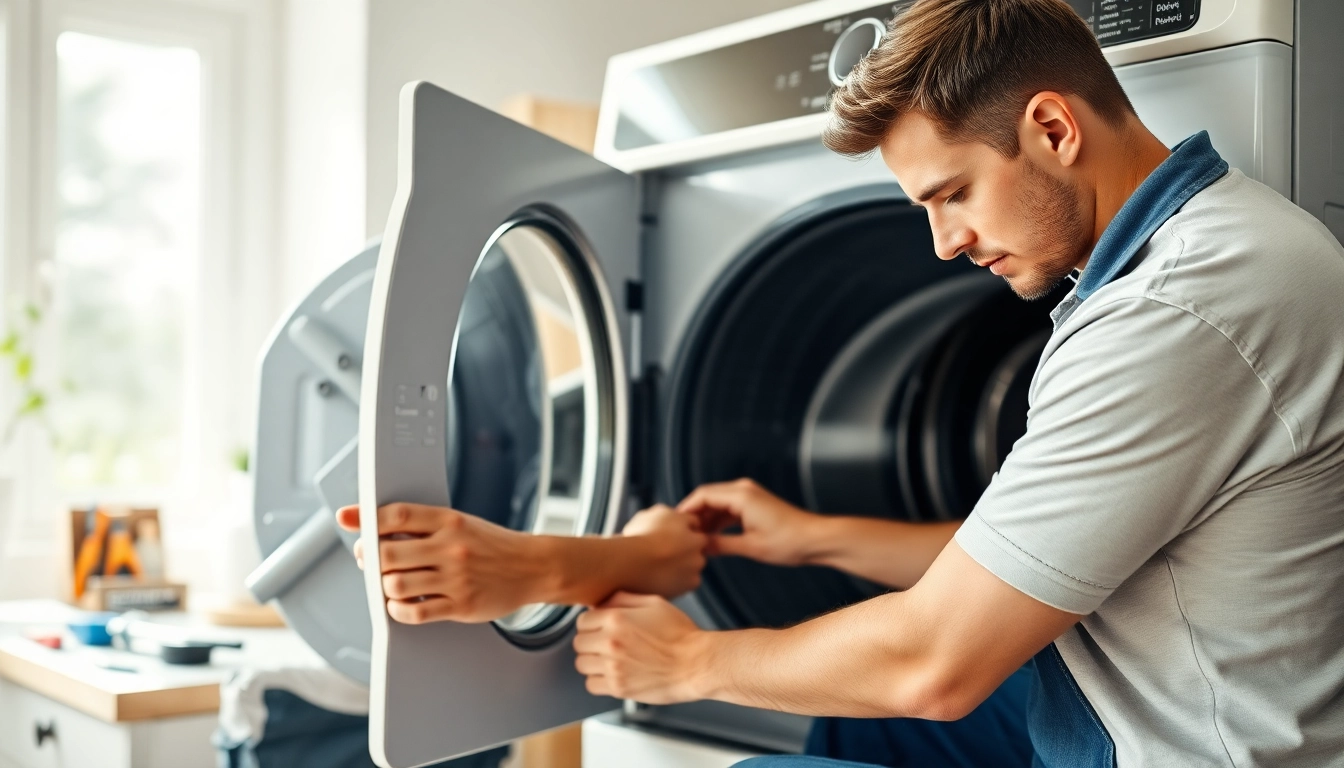
Understanding Common Dryer Problems
When your dryer malfunctions, it can throw your entire laundry routine off balance. Understanding common issues is crucial for effective Dryer Repair. This section will cover typical dryer problems, what causes them, how to diagnose them, and when to seek professional help.
What Causes Dryers to Fail?
Dryers, like all appliances, can suffer from a variety of issues that lead to their failure. Many causes can stem from mechanical, electrical, or simple maintenance issues. Common causes include:
- Clogged Ventilation: A buildup of lint in your dryer vent can result in reduced airflow, causing your dryer to overheat and shut down.
- Faulty Heating Element: The heating element is crucial for drying clothes; if it malfunctions, it may not generate sufficient heat.
- Broken Belt or Drum: A snapped belt can prevent the dryer drum from rotating, making it impossible for clothes to tumble and dry properly.
- Electrical Problems: Issues with the dryer’s wiring or tripped breakers can lead to a complete shutdown.
- Thermal Fuse Issues: A blown thermal fuse shields the system from overheating; if it blows, the dryer may not function.
Diagnosing No Heat or Insufficient Drying
Experiencing no heat or insufficient drying can be frustrating. Begin by checking:
- The Circuit Breaker: Ensure that the circuit hasn’t tripped. If it has, reset it and check if that resolves the issue.
- Lint Filter: A clogged lint filter can significantly reduce airflow and restrict heat. Clean it before each use.
- Ventilation System: Inspect the duct system for blockages. Clear any lint build-up to ensure proper airflow.
- Heating Element: Use a multimeter to check the heating element for continuity. If it’s faulty, consider replacing it.
Recognizing Unusual Noises During Operation
Strange noises can indicate different issues. Common sounds include:
- Thumping or Banging: This may be due to an unbalanced load or an object stuck in the drum.
- Squeaking: Often caused by worn out drum rollers or a damaged belt.
- Rumbling: This sound might come from the dryer’s blower wheel, which can become loose or damaged.
Identifying the source of these noises can help in diagnosing the specific problem and determining a solution.
Essential Tools for Dryer Repair
Before undertaking any dryer repairs, it’s vital to have the right tools at hand. This can make the process smoother and ensure you have everything necessary to do the job properly.
Basic Tools Every Technician Needs
Basic tools tend to include:
- Screwdrivers: A set of Phillips and flathead screwdrivers is essential for removing panels.
- Socket Set: Useful for loosening bolts and nuts within the dryer.
- Pliers: These assist in gripping and handling small components.
- Multimeter: This is necessary for electrical troubleshooting to check continuity and voltage.
Advanced Equipment for In-Depth Diagnostics
For more complex repairs, such as electrical issues, advanced equipment may be necessary:
- Clamp Meter: Useful for measuring electrical current flow in the dryer’s wiring.
- Thermal Imaging Camera: Helps in diagnosing overheating components without disassembly.
- Drill with Various Bits: For cases where original screws may be stripped or difficult to access.
Safety Gear and Best Practices
Safety should always be your first priority:
- Safety Glasses: Protect your eyes from dust and debris during repairs.
- Gloves: Use gloves while handling sharp or broken components.
- Proper Ventilation: Ensure you’re working in a well-ventilated area to prevent inhalation of fumes.
Step-by-Step Guide to Dryer Repair
Repairing a dryer doesn’t have to be daunting. Follow this guide to troubleshoot and fix common issues.
Troubleshooting Techniques for Common Issues
A systematic approach is key:
- Start by unplugging the dryer to ensure safety.
- Run a diagnostic test if your dryer has a built-in feature.
- Use a multimeter on electrical components to check for continuity.
- Inspect all visible components, looking for any signs of damage or wear.
Performing Basic Repairs: A DIY Approach
For basic repairs, you can follow these steps:
- For a broken belt, remove the front panel and replace it with a new one.
- If the thermal fuse is blown, access it through the back panel and replace it.
- Clean out the lint venting system thoroughly.
Take your time and consult the dryer’s manual for specific disassembly instructions.
When to Call a Professional for Help
While DIY may solve many issues, some situations require professional intervention:
- If you encounter complex electrical issues.
- When significant mechanical repairs are needed, such as motor replacements.
- In cases where safety compromises exist, such as gas dryers with faulty connections.
Maintenance Tips to Prevent Future Issues
Prevention is often the best solution. Regular maintenance can extend the lifespan of your dryer and reduce the likelihood of major repairs.
Regular Cleaning and Care of Dryer Components
Perform these maintenance tasks regularly:
- Clean the Lint Filter: After every load, ensure that the lint filter is free of debris.
- Inspect and Clean Vents: Every few months, have a deep clean of your venting system.
- Check Components: Regularly inspect and test components such as belts and heating elements for wear.
Optimal Dryer Settings for Efficient Use
Using the right settings can enhance your dryer’s efficiency:
- Choose Appropriate Cycles: Use appropriate drying cycles based on fabric types.
- Avoid Overloading: Excess weight can strain your dryer and affect drying effectiveness.
- Use Sensor Dry: If available, it automatically adjusts drying time based on moisture levels.
Signs Your Dryer Needs Immediate Attention
Watch out for red flags indicating your dryer may need repairs:
- Clothes taking longer than usual to dry.
- Burning smells during operation.
- Unusual noises or vibrations.
Cost Considerations in Dryer Repair
Understanding the financial implications of dryer repairs can help you make informed decisions.
Average Costs for Common Repairs
The cost of dryer repairs can vary widely, but here are some average estimates:
- Replacing a heating element typically costs between $100 to $250.
- A blown thermal fuse replacement can range from $75 to $150.
- If a belt breaks, expect to pay around $100 for part and labor.
Evaluating Repair vs. Replacement
Deciding whether to repair or replace your dryer should factor in:
- Age of the Appliance: If the dryer is over 10 years old, replacement might be more cost-effective.
- Overall Condition: Assess if other parts are likely to fail soon after repairs.
- Cost of Repairs: Generally, if the repair bill exceeds 50% of a new dryer’s cost, replacement is advisable.
Finding Affordable Professional Services
When the need for professional service arises, consider these tips:
- Research local repair services and compare reviews for reliability and cost-effectiveness.
- Ask for estimates from multiple sources before committing.
- Look for warranties on parts and services provided.
FAQs about Dryer Repair
What is the average repair cost for a dryer?
The average cost is around $100 to $400, covering most issues like broken belts or faulty thermostats. Consider repair value against replacement costs before deciding.
What is the most common dryer failure?
Poor ventilation is a top issue leading to ineffective drying. Check airflow first and ensure settings are correct; you may need to replace a thermal fuse or heating element.
How often should I clean my dryer vent?
Cleaning your dryer vent is key for efficiency and safety. Aim for at least once a year, or more often if you notice longer drying times or excess lint buildup.
Can I use my dryer while it’s making noise?
Unusual noises indicate potential issues. While it may still operate, it's wise to address the noise soon to prevent more severe damage or safety hazards.
How can I improve my dryer's efficiency?
Key ways include cleaning the lint filter before each load, ensuring proper ventilation, and utilizing dryer settings optimized for the fabric type being dried.